
Small Sea of Green Method.
Space needed 24” x 48”
Parts List: Total investment in equipment around $500
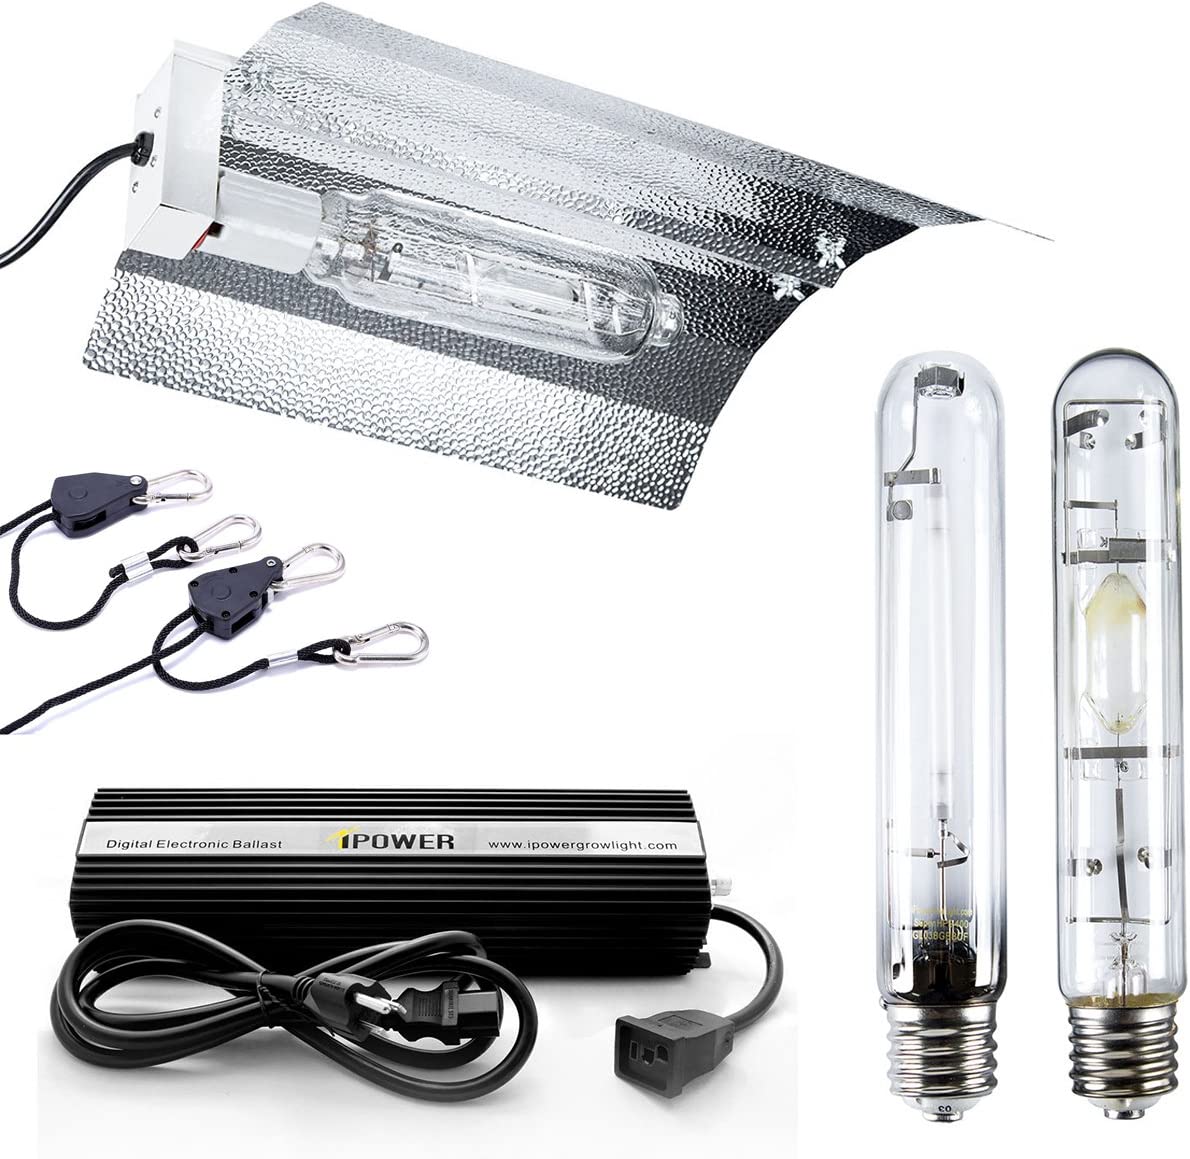
2- 400 Watt HPS MH Digital Dimmable Ballast Grow Light System Kits Wing Reflector Hood Set – approx. $120 each (On Amazon you only need 400 watt.)
2- 92 GPH Submersible Pump with 5′ Cord – 5W – $15 each (On Amazon 92gph pump )
3 – Electric Timers – 1 for lights, 2 for pumps $15 each
2 – 24” Square trays, water tight.
1 – Clone King or Clone Machine $140 ( On Amazon Clone King but others are available)
3 – sticks of 10’ long ½ inch PVC, cut as follows
16 – 1’ PVC ½ inch this is equal to 1.5 10’ sticks of PVC
8 – 1.75’ PVC ½ inch this is equal to 1.5 10’ sticks of PVC
8 – 90 degree PVC elbows ½ inch
8 – PVC T’s ½ inch
2 – 5 gallon pails, clean
Seeds Feminized of your favorite varieties
3 – Mylar blankets
Layout:
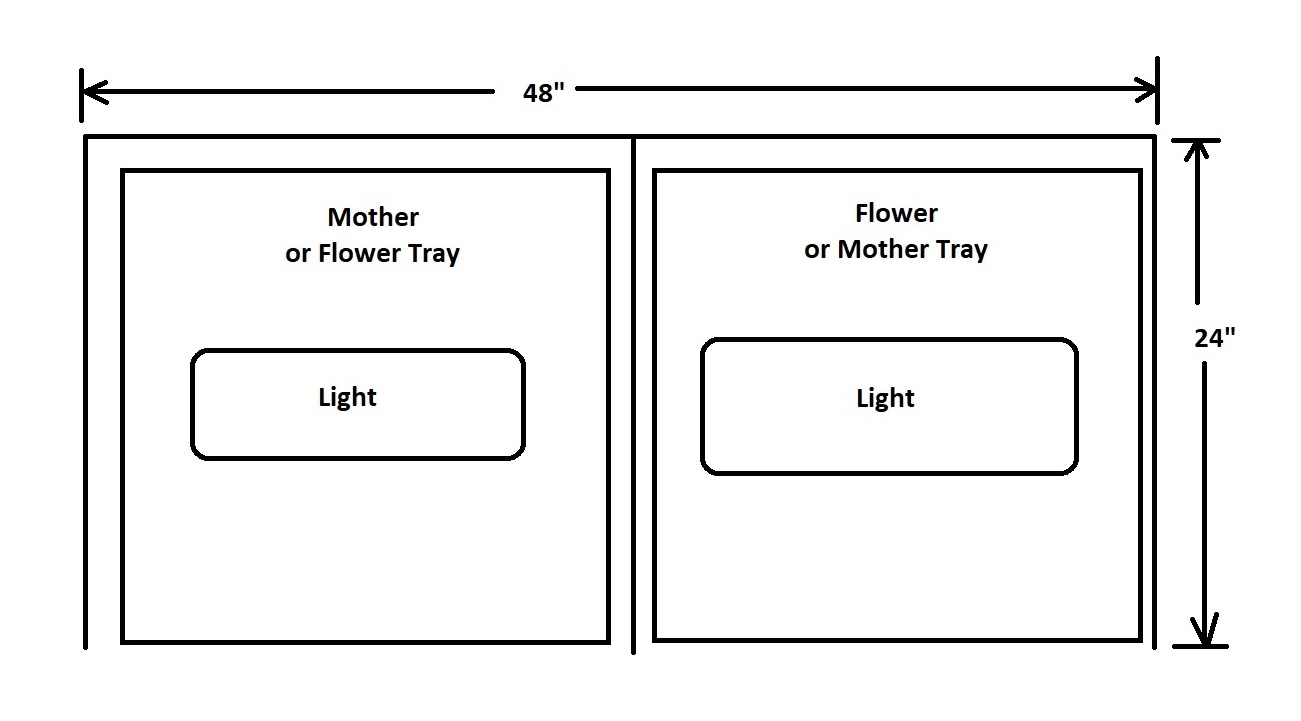
Assembly:
- Line the walls of the space with the mylar blankets. Use one to separate the spaces into 24×24″ spaces. One of these will be the mother room and the other will be the flowering room.
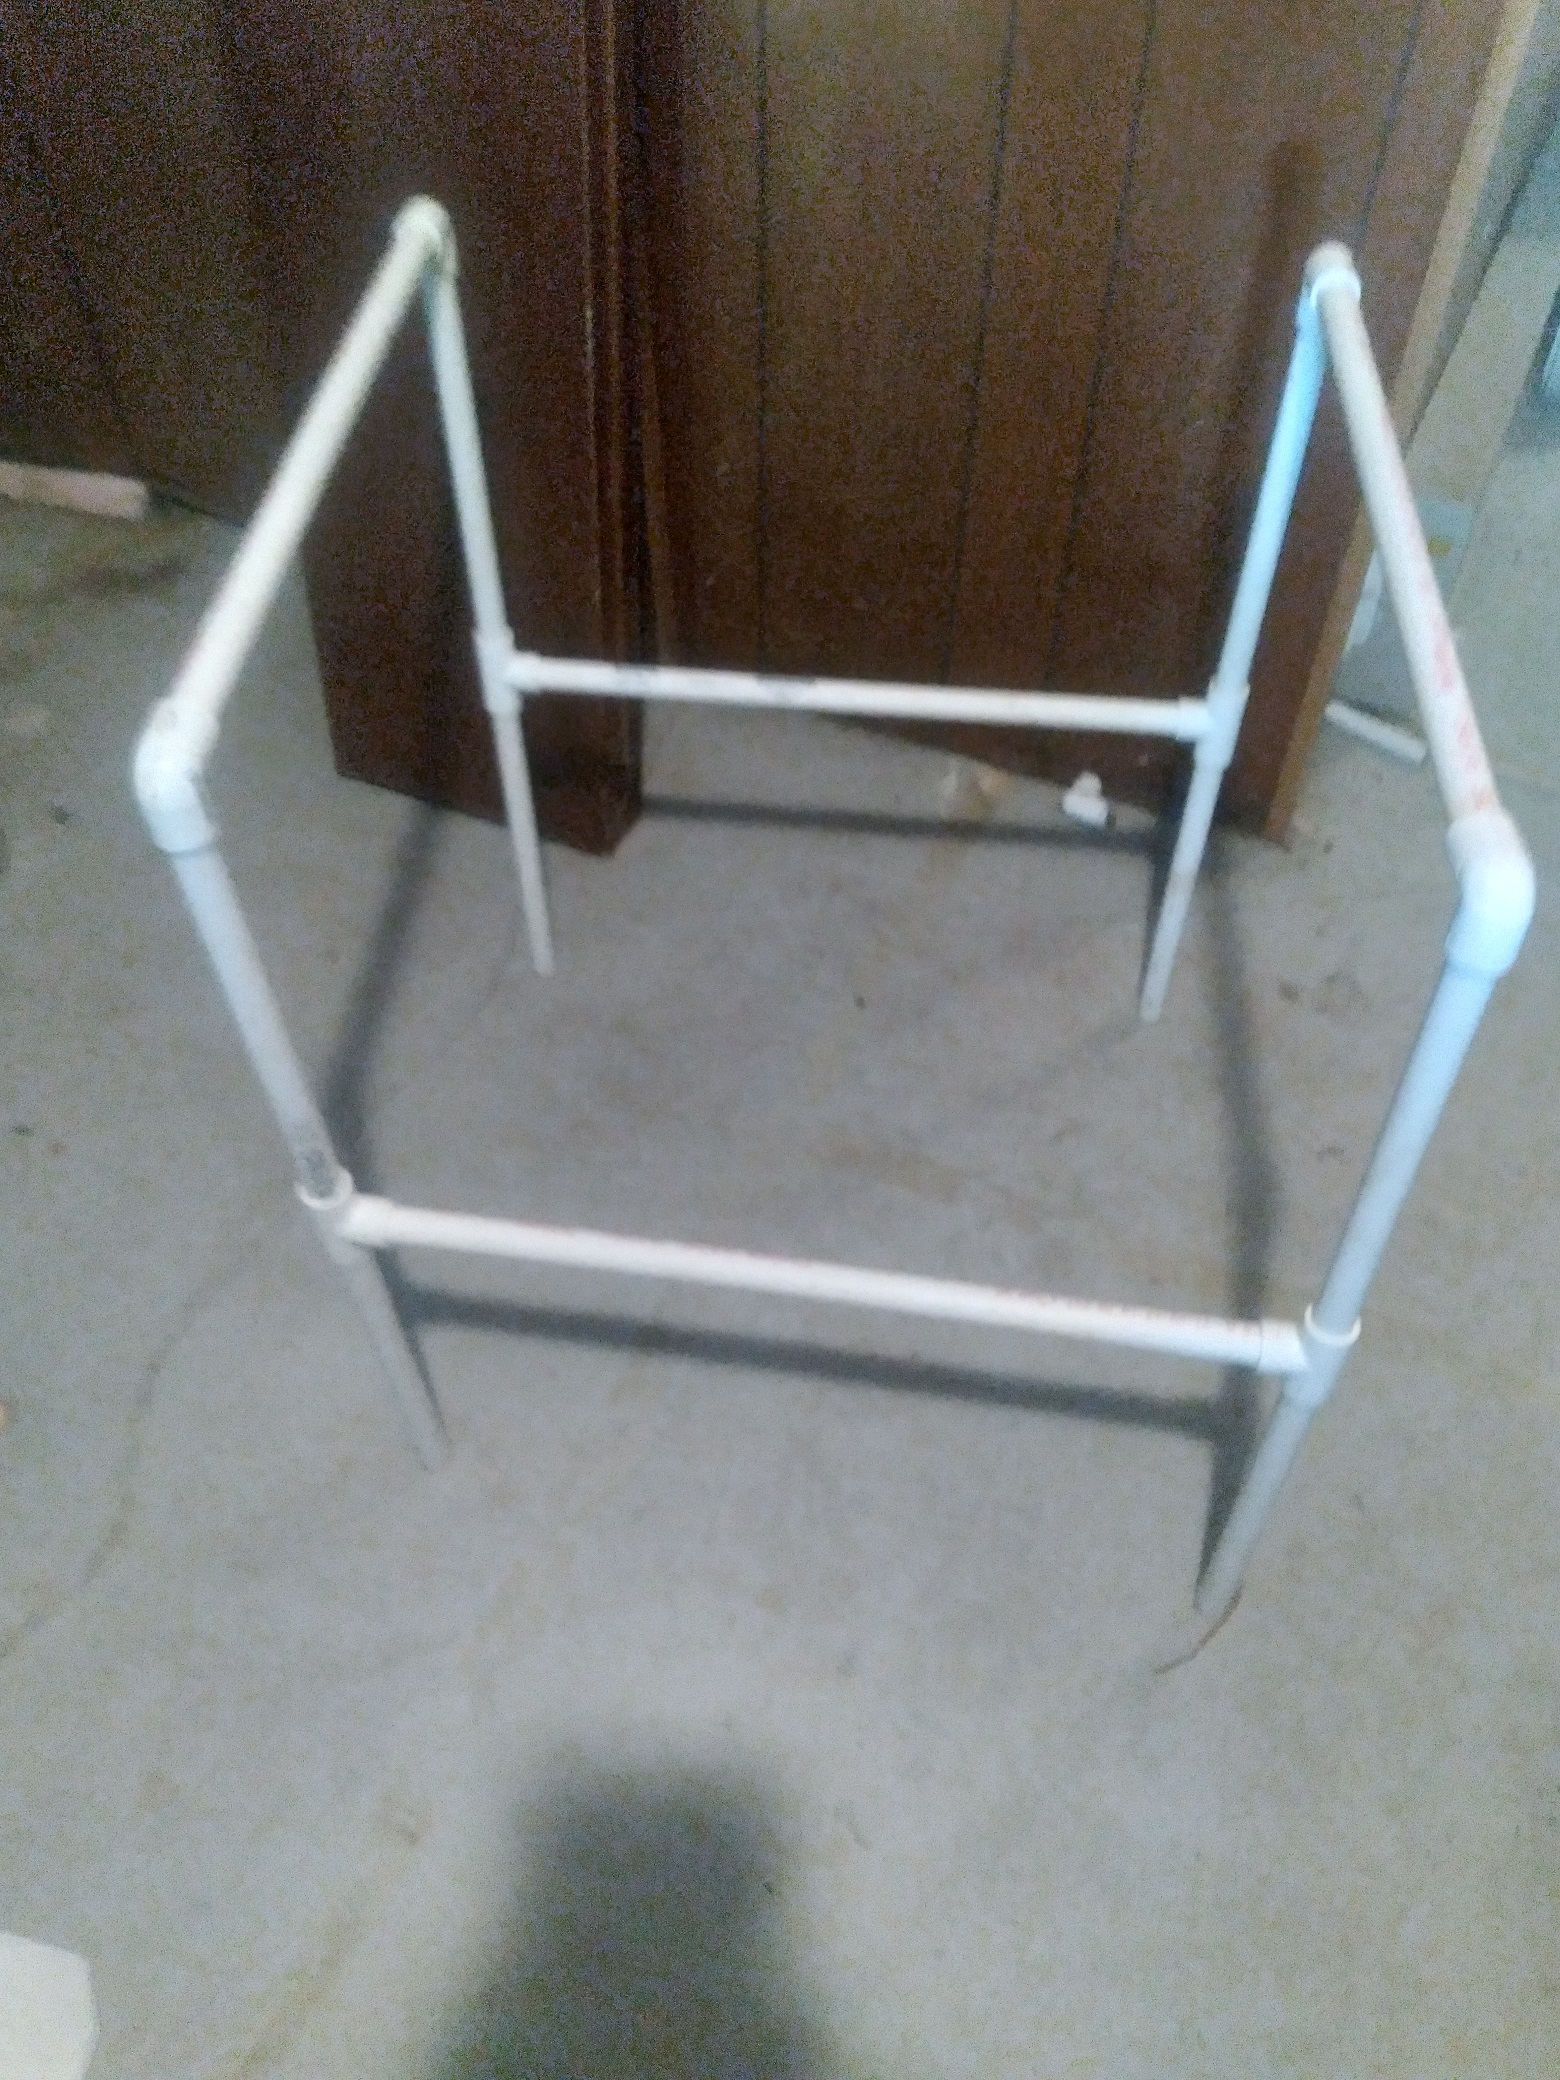
- Cut PVC pipe and attach a T to a 1′ section. Then, attach another 1′ section to the top of the T and a corner piece to make four legs. See the picture below.
- At the open T, insert a 2′ piece and then connect it to the other leg. See the picture below.
- With the top corners, insert a 2′ piece across to the other leg. See the picture below.
- This makes the stand 24″ high x 24″ square for the trays to sit on. You should have two of them. See the picture below.
You can change the height to suit your needs, but remember that mother plants need a bit more height to take clones from.
You of course can change the height to suit your needs but remember mother plants need a bit more height to take clones from.
In the following picture, I had to make do with something other than a watertight tray that sits on top of the table. I used some pond liner in a bread tray. So, the options for a tray are wide open as long as it can control the water being pumped into it.
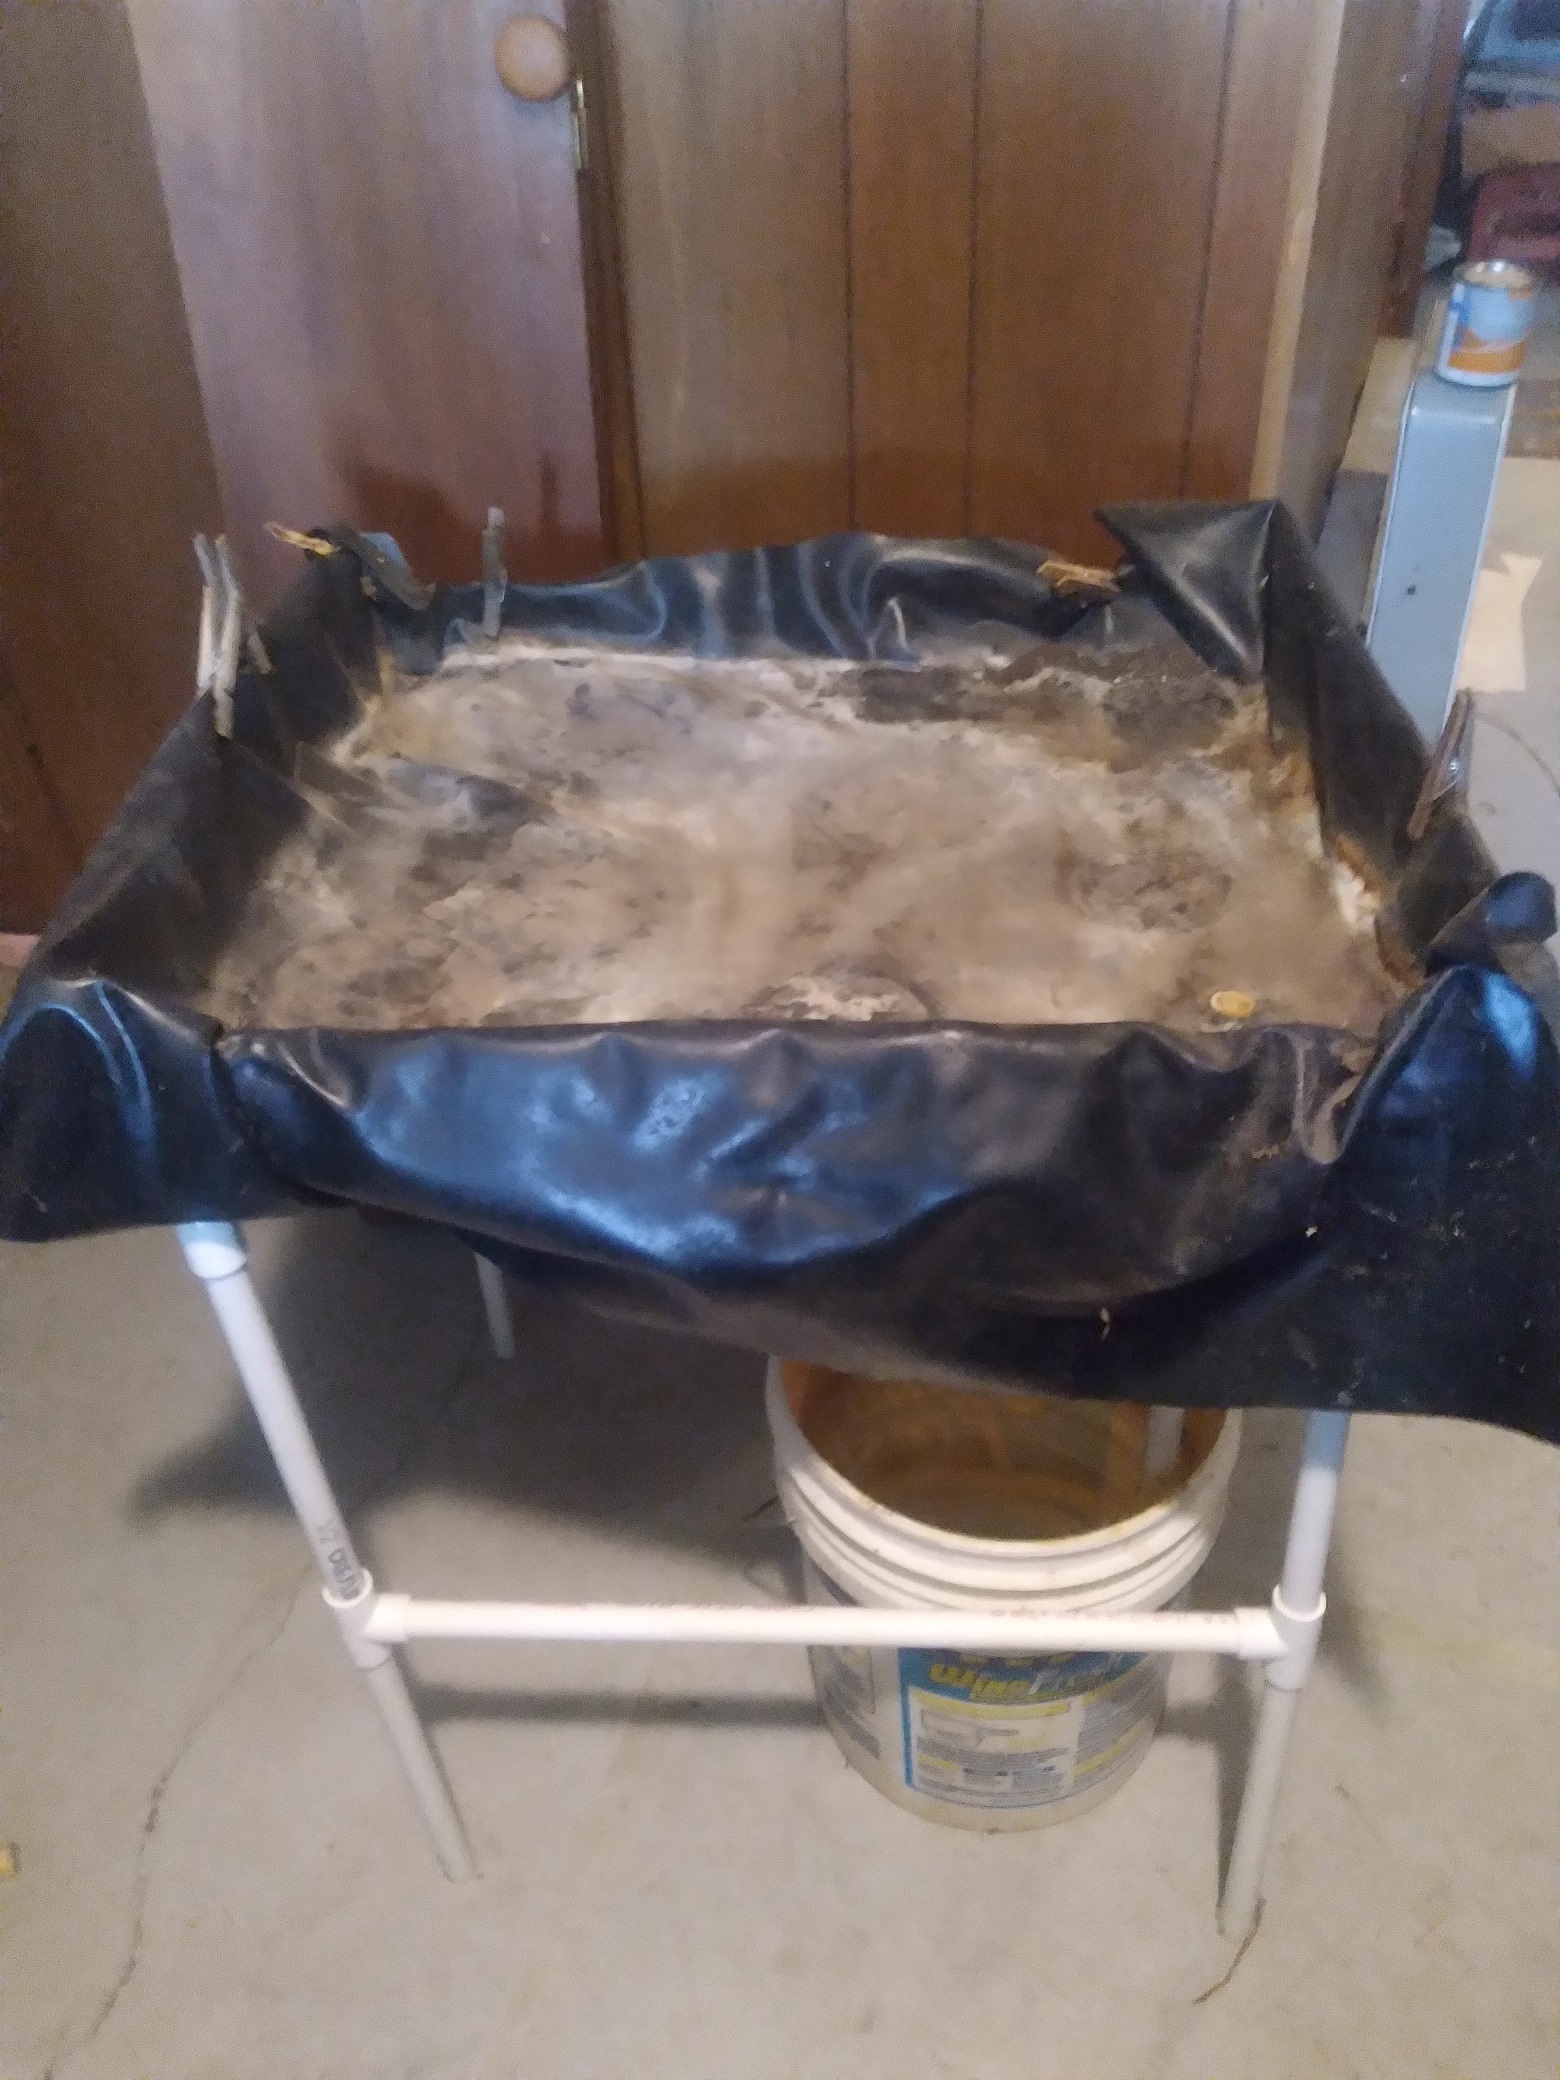
Underneath:
Underneath is where the 5 gallon recycled water buckets are located. Using some of the leftover PVC allows you to put a drain hole so water returns to the bucket.
Inside the bucket, you put a pump with a hose that brings the water up to the furthest location in the tray, making a closed loop system. Connect the pump to a timer and set the time for during lights on periods of time. It’s always best to water early.
Fill the bucket about ¾ full of clean fresh water and you’re all set.
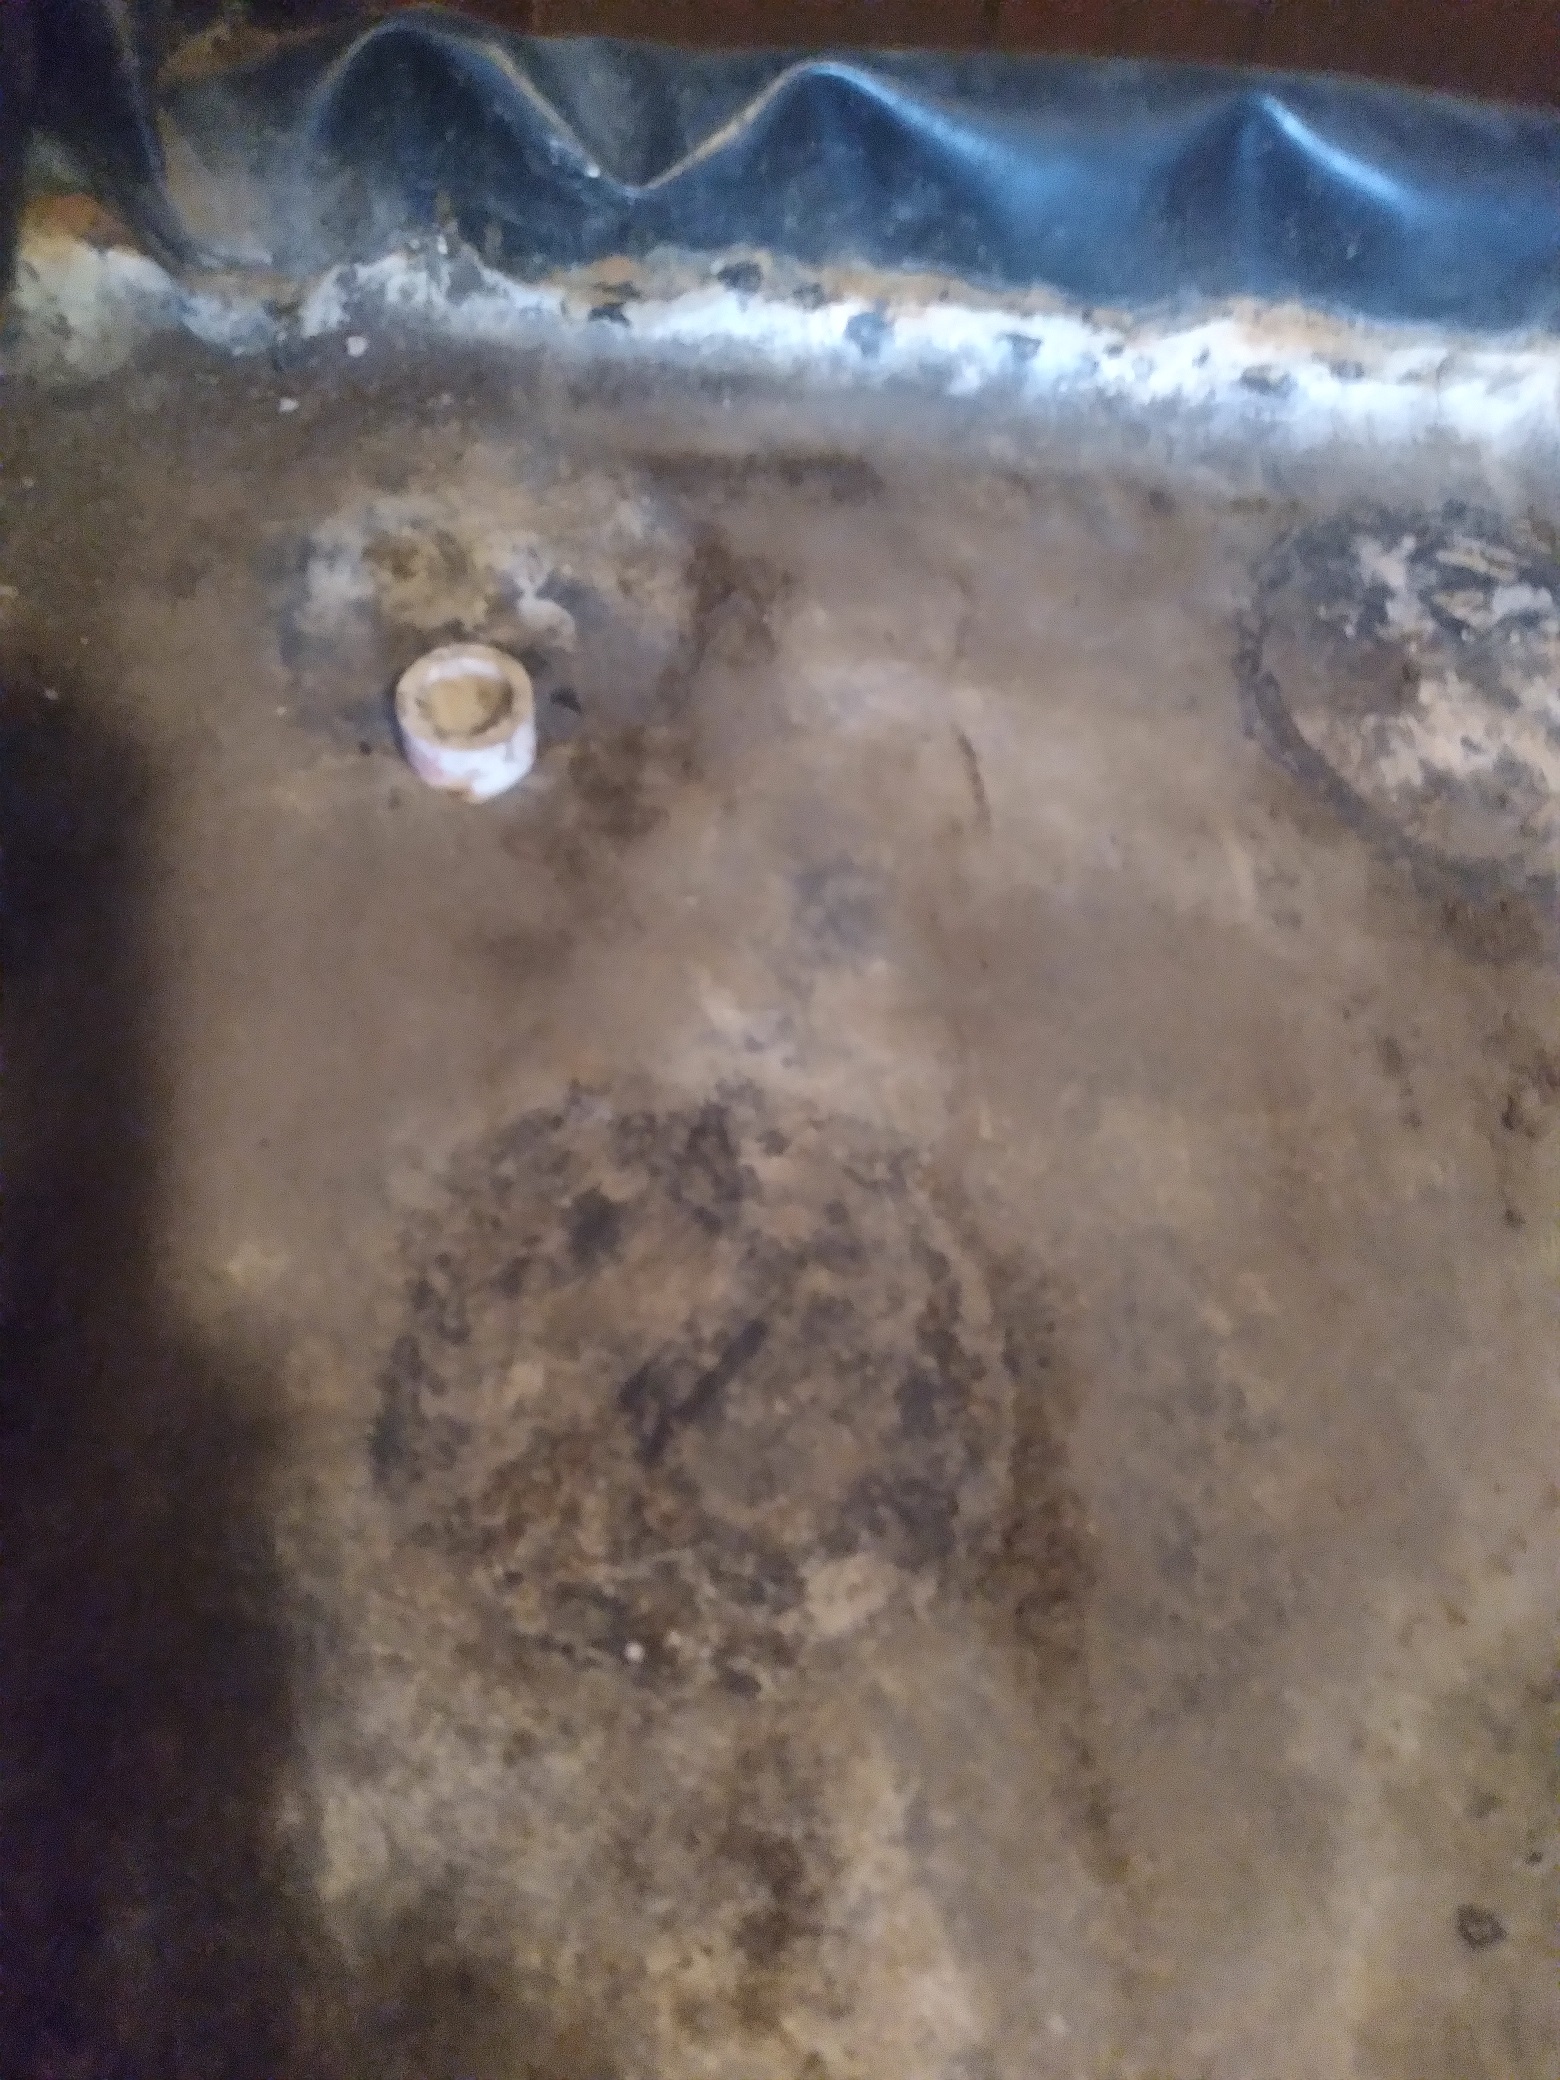 You can adjust water levels in the tray by adjusting the drain height, but I suggest you mount it even with the floor of the tray. It is also advantageous to put it into a corner and make that corner slightly shorter by ¼ – ½ inch so water being pumped into the tray can easily drain.
Mounting the lights:
Mount the lights above the trays, connect them to timers, and you’re ready to go. The easy part is done.
On one side, the lights are always on, mother area. On the other, they are only on when you have clones ready to flower and then the light cycle is 12 hours on and 12 hours off for flowering.
Making clones:
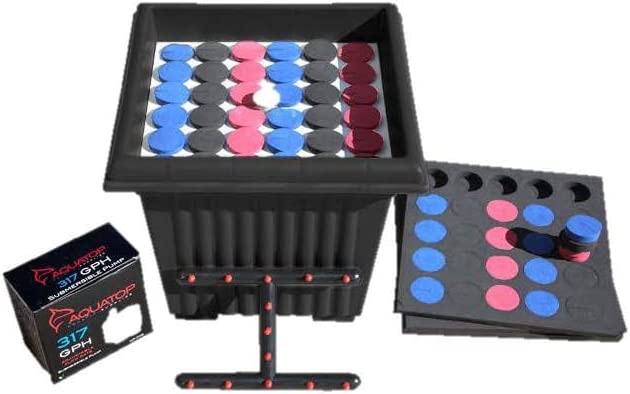
Once the plants start to grow to a height where you can take cuttings, you then fire up the clone machine and make clones. The machines are very effective using an aero-ponic process that in about 10-14 days you will see roots like shown in this product picture. Most of these are actually overgrown roots and can be planted before they get this thick.
Here is a clone machine video:
Use standard 4″ square potting plants for the clones. Give them a few days in very damp soil so they make it through the shock of being moved. Once they are looking healthy, put them into the flower side tray.
Keeping the mother plants producing clones:
Keep the females producing clones as needed. As the females age, you will want to keep a clone and put the old female into the flowering side. This can be done almost indefinitely.
Why this method is more efficient:
Most people are going to be shocked by this method of growing because they see pictures of 7′ tall cannabis plants. This isn’t necessary nor very productive.
It takes months for a plant to reach this size and requires lots of space.
In addition, even 1,000 watt lights can only penetrate so far into the thick cannabis leaf canopy that can develop. Generally speaking, about 6-12 inches is about as deep as the light can reach, so why bother growing taller than 12″?
When placing the plants into the flower room at 2-4 inches tall, they will jump in height to about 12-14″ tall when flowering is completed. It will only take them, depending on variety, 6-10 weeks to be harvestable.
The benefits of this method:
You take clones and within 14 days have roots, after another 4 days in dirt they are ready to go to flower, add 60 days and you are harvesting at 78 days versus 4-6 months grown in traditional methods.
They are grown in dirt so they are organic and need no additional nutrients if you use a fertile or standard potting soil.
The yield is of course smaller, but depending on the variety, you should expect ¼ to ½ ounce per clone dry weight. Getting that much per clone and potentially 48 or more clones per tray the yield is actually greater per square foot and per watt of electricity used.
Where did I come up with this?
Many of you know me and my activism, which has brought me into contact with many of the world’s top cannabis growers. Each has provided a piece to this method, which is a method used by some very highly productive growers over in Holland.
They call it the Sea of Green method, and they also do it on a much larger, almost industrial scale. Below are a series of pictures.
These are ready to go into flowering. Once they have the kind of roots shown above you put them in small dirt pots.
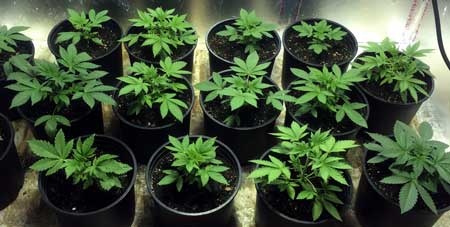
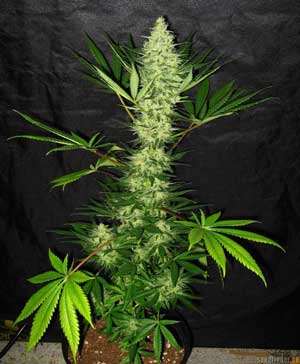
Depending on the type in 8-10 weeks you should have something like this.
THIS IS WHAT YOU WANT when it’s done.
This is a good flowering room looking close to harvest.
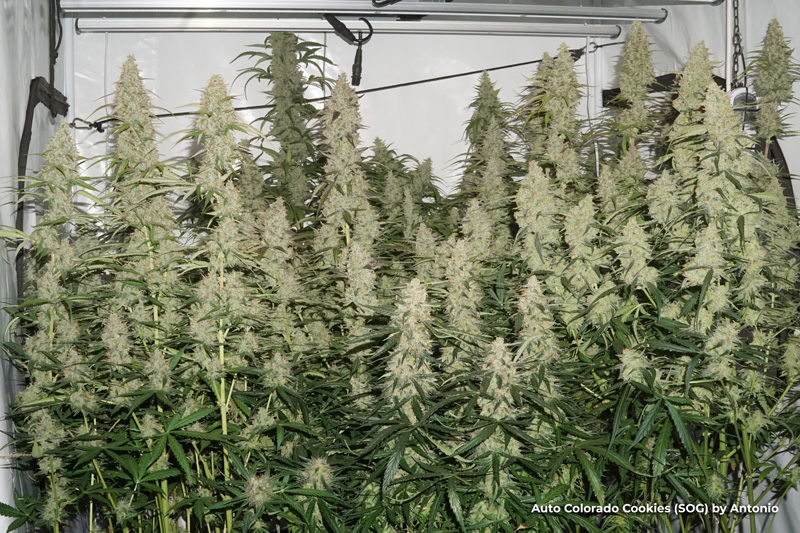
These plants were flowered to late and a reason to avoid auto flowering varieties.
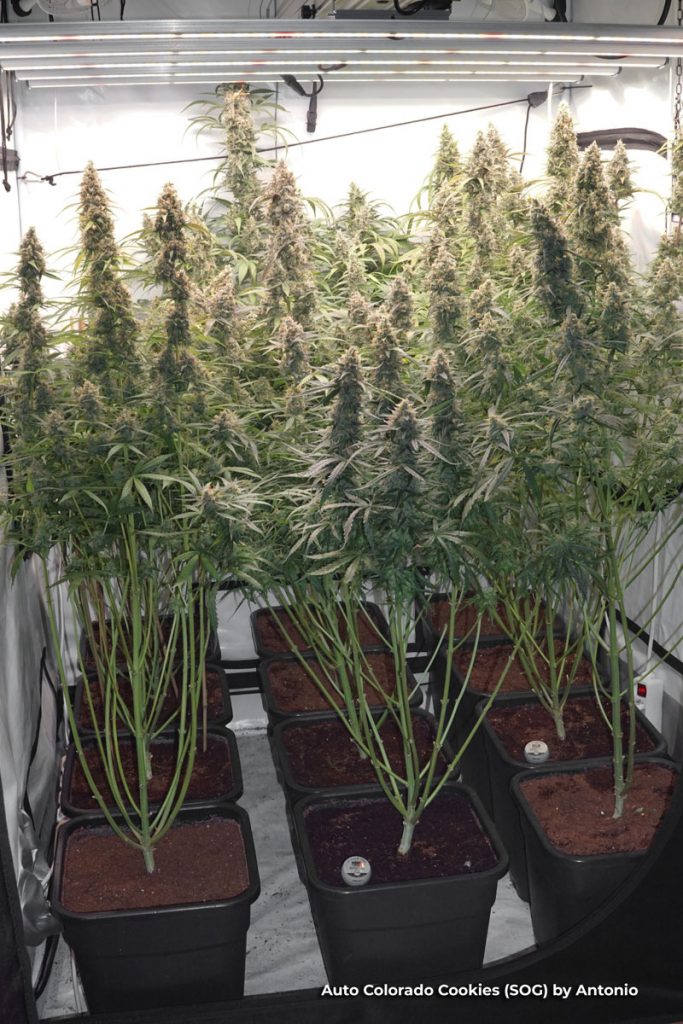
See all the space below the flowers that do not have any flowers? Light could not reach that deep, or they were trimmed away to allow energy to go into flowering of the very tops.
About Auto-Flowering Cannabis and why it’s not a choice for cloning:
Most other sub groups of Cannabis are Photoperiod controlled, Sativa, Indica, Americana are all in the photoperiod group.
Auto-flowering cannabis plants are made by crossing a Ruderalis strain with a photoperiod strain. When a Ruderalis strain is crossed with a photoperiod strain, the resulting plant will inherit the auto-flowering trait from the Ruderalis parent. This means that the plant will flower automatically, regardless of the amount of light it receives.
Auto-flowering cannabis plants are typically ready to harvest in 10-16 weeks from seed. They are also relatively small plants, which makes them well-suited for indoor growing.
Because auto-flowering flower from the start there is no vegetative stage or opportunity to get clones from them.